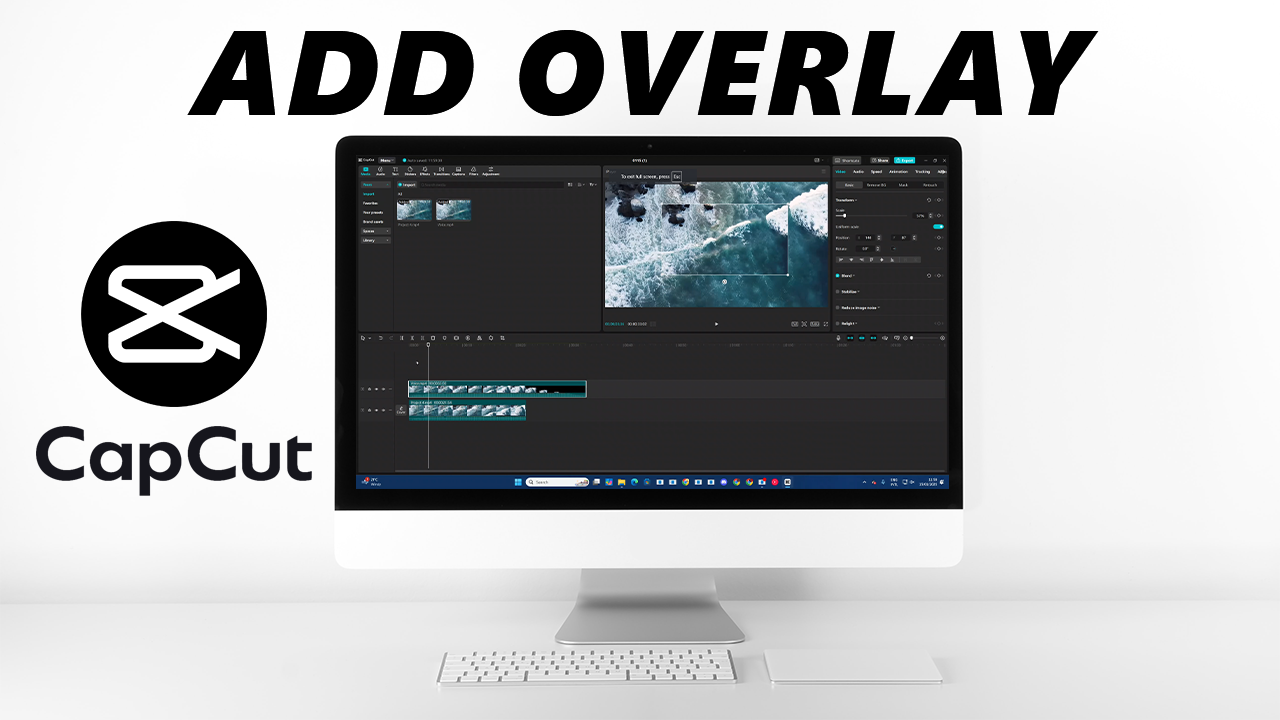
CapCut has become a popular choice for video editing, especially among content creators looking for a user-friendly interface and robust features. One of the most useful features in CapCut is the ability to add overlays to your videos, which can enhance storytelling and visual appeal. Whether you want to add text, images, or other video clips as overlays, the process is straightforward. This guide will walk you through the steps needed to add overlays in CapCut on PC, ensuring that you can elevate your video editing game. From importing your media to adjusting the overlay settings, you’ll learn everything you need to create stunning videos that capture your audience’s attention. Let’s dive into the steps required to master overlays in CapCut.
Understanding Overlays in CapCut
Overlays in CapCut are additional layers of video or images that can be placed on top of your main video track. They can include text, logos, or other visual elements that enhance the content. Understanding how to utilize overlays effectively can significantly improve the quality of your videos.
Preparing Your Project
Before adding overlays, it’s essential to prepare your project in CapCut. This includes selecting the correct video format and resolution, as well as organizing your media files. Start by creating a new project and importing your main video clips.
Importing Overlays
To add overlays, you first need to import the media files you want to use. This could include images, videos, or any other graphics you wish to overlay on your main video. Use the import function to locate and select these files from your computer.
Adding Overlays to Timeline
Once your overlay files are imported, drag them onto the timeline above your main video track. This layering allows the overlay to appear in front of the main video, creating the desired effect. Adjust the position of the overlays on the timeline to synchronize them with your main content.
Adjusting Overlay Duration
It’s crucial to set the duration of your overlays correctly. You can do this by dragging the edges of the overlay clips in the timeline. This adjustment ensures that the overlay appears for the desired length of time during playback.
Resizing and Positioning Overlays
After adding the overlays to your timeline, you can resize and reposition them within the video frame. Click on the overlay in the preview window, and drag the corners to resize it, or click and drag to reposition it anywhere on the screen.
Applying Effects to Overlays
CapCut offers various effects that can be applied to overlays, such as transitions, animations, and filters. Explore the effects menu and choose the ones that enhance your overlays while maintaining visual coherence with your main video.
Adjusting Overlay Opacity
To create a more polished look, you may want to adjust the opacity of your overlays. This feature allows you to make the overlay more transparent, blending it smoothly with the background video, thus avoiding distractions.
Previewing Your Edits
Before finalizing your video, always preview the edits you have made. Use the play function to see how the overlays appear in relation to the main video. This step is crucial for ensuring that everything looks good and functions as intended.
Exporting Your Final Video
Once you are satisfied with your overlays and overall video editing, it’s time to export your project. Choose your desired video format and resolution, then hit the export button to save your edited video. Make sure to check the quality settings to ensure the best output.
| Step | Description | Tools Needed | Tips | Estimated Time |
|---|---|---|---|---|
| 1 | Prepare your project | CapCut | Organize media files | 5 minutes |
| 2 | Import overlays | CapCut | Select high-quality images/videos | 3 minutes |
| 3 | Add overlays to timeline | CapCut | Layer correctly | 2 minutes |
| 4 | Export your video | CapCut | Check quality settings | 5 minutes |
To summarize, adding overlays in CapCut is a simple yet powerful way to enhance your video projects. By following the steps outlined above, you can easily integrate various overlays into your videos, making them more engaging and visually appealing. With practice, you will master the art of overlay editing and create videos that captivate your audience.
FAQs
What types of overlays can I use in CapCut?
You can use images, videos, text, and stickers as overlays in CapCut. This versatility allows for creative freedom in your video projects.
Can I animate my overlays in CapCut?
Yes, CapCut provides options to animate your overlays. You can add entrance and exit animations to make your overlays more dynamic.
Is there a limit to the number of overlays I can add?
There is no strict limit to the number of overlays you can add in CapCut, but adding too many can make your project cluttered. It’s best to keep it simple and focused.
How do I ensure my overlays look good on different devices?
To ensure your overlays look good on different devices, preview your video on various screen sizes and adjust the size and position of your overlays accordingly.