Visual Studio Code (VS Code) has become an essential tool for developers around the globe. Its lightweight design, robust features, and extensive extensions make it a preferred choice for coding in various programming languages. Windows 11, with its modern interface and enhanced performance, pairs well with VS Code, making the installation process a breeze. This article walks you through the necessary steps to get VS Code up and running on your Windows 11 system. Whether you’re a seasoned developer or just starting, this guide will help you navigate the installation process with ease.
Download Visual Studio Code
The first step in installing Visual Studio Code is to download the installer from the official website. Navigate to the Visual Studio Code download page and select the appropriate version for Windows. The installer is typically a small file, making it quick to download.
Run the Installer
Once the download is complete, locate the installer in your downloads folder and double-click it to run. This action will initiate the setup process, guiding you through the installation steps.
Accept the License Agreement
During the installation process, you will be presented with a license agreement. Read through the terms and conditions and click the “Accept” button to proceed with the installation.
Select Installation Location
You will be prompted to choose the location where you want Visual Studio Code to be installed. The default location is usually recommended, but you can select a different folder if desired.
Select Additional Tasks
The installer will present you with options for additional tasks, such as creating a desktop icon, adding VS Code to the PATH, and enabling context menu integration. Choose the options that suit your preferences and click “Next.”
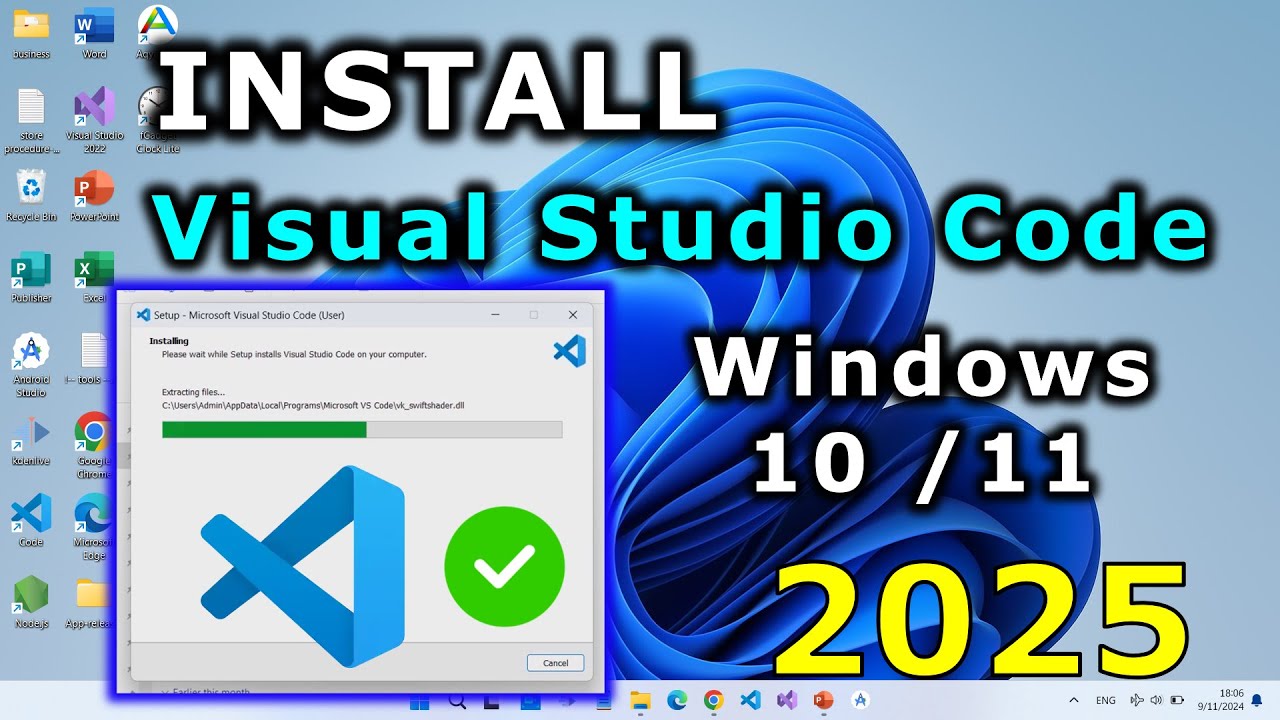
Install Visual Studio Code
After configuring the installation settings, click the “Install” button to begin the installation process. This may take a few moments, so be patient as the necessary files are copied to your system.
Launch Visual Studio Code
Once the installation is complete, you will have the option to launch Visual Studio Code immediately. You can also find it in the Start menu or on your desktop, depending on your earlier choices.
Install Recommended Extensions
After launching VS Code for the first time, you will be prompted to install recommended extensions based on your coding preferences. Extensions enhance the functionality of VS Code, so consider installing those that are relevant to your work.
Configure Settings
Take a moment to configure your VS Code settings according to your needs. You can customize themes, keybindings, and editor settings to create an environment that suits your workflow.
Update Visual Studio Code
Finally, check for updates to ensure you are using the latest version of Visual Studio Code. Keeping your software updated is crucial for accessing new features and security improvements.
| Step | Action | Details | Time | Outcome |
|---|---|---|---|---|
| 1 | Download | Get the installer from the official site | 1-2 min | Installer ready |
| 2 | Run Installer | Double-click the downloaded file | 1 min | Setup initiated |
| 3 | License Agreement | Read and accept terms | 1 min | Agreement accepted |
| 4 | Select Location | Choose where to install | 1 min | Installation path set |
Visual Studio Code is now installed and ready for use on your Windows 11 system. With its powerful features and customizable settings, you can enhance your coding experience significantly.
FAQs
Is Visual Studio Code free to use?
Yes, Visual Studio Code is completely free and open-source, making it accessible for everyone.
What programming languages does Visual Studio Code support?
VS Code supports a wide range of programming languages, including JavaScript, Python, Java, C#, and many more through extensions.
Can I customize Visual Studio Code?
Absolutely! VS Code is highly customizable. You can change themes, keybindings, and settings to suit your preferences.
How do I install extensions in Visual Studio Code?
You can install extensions directly from the Extensions view in VS Code. Search for the extension you want and click “Install.”