Windows 11 has brought a fresh new look and feel to the operating system, including a redesigned Start menu that many users find appealing. However, some might feel that the default layout does not meet their needs or preferences. Fortunately, customizing the Start menu layout is not only possible but also straightforward. In this article, we will explore how you can change the Windows 11 Start menu layout to show more app items. Whether you want to prioritize your favorite applications or simply organize your workspace better, we have you covered with easy-to-follow steps. Let’s dive into the details of customizing your Start menu in Windows 11 and make it work for you.
Accessing Start Menu Settings
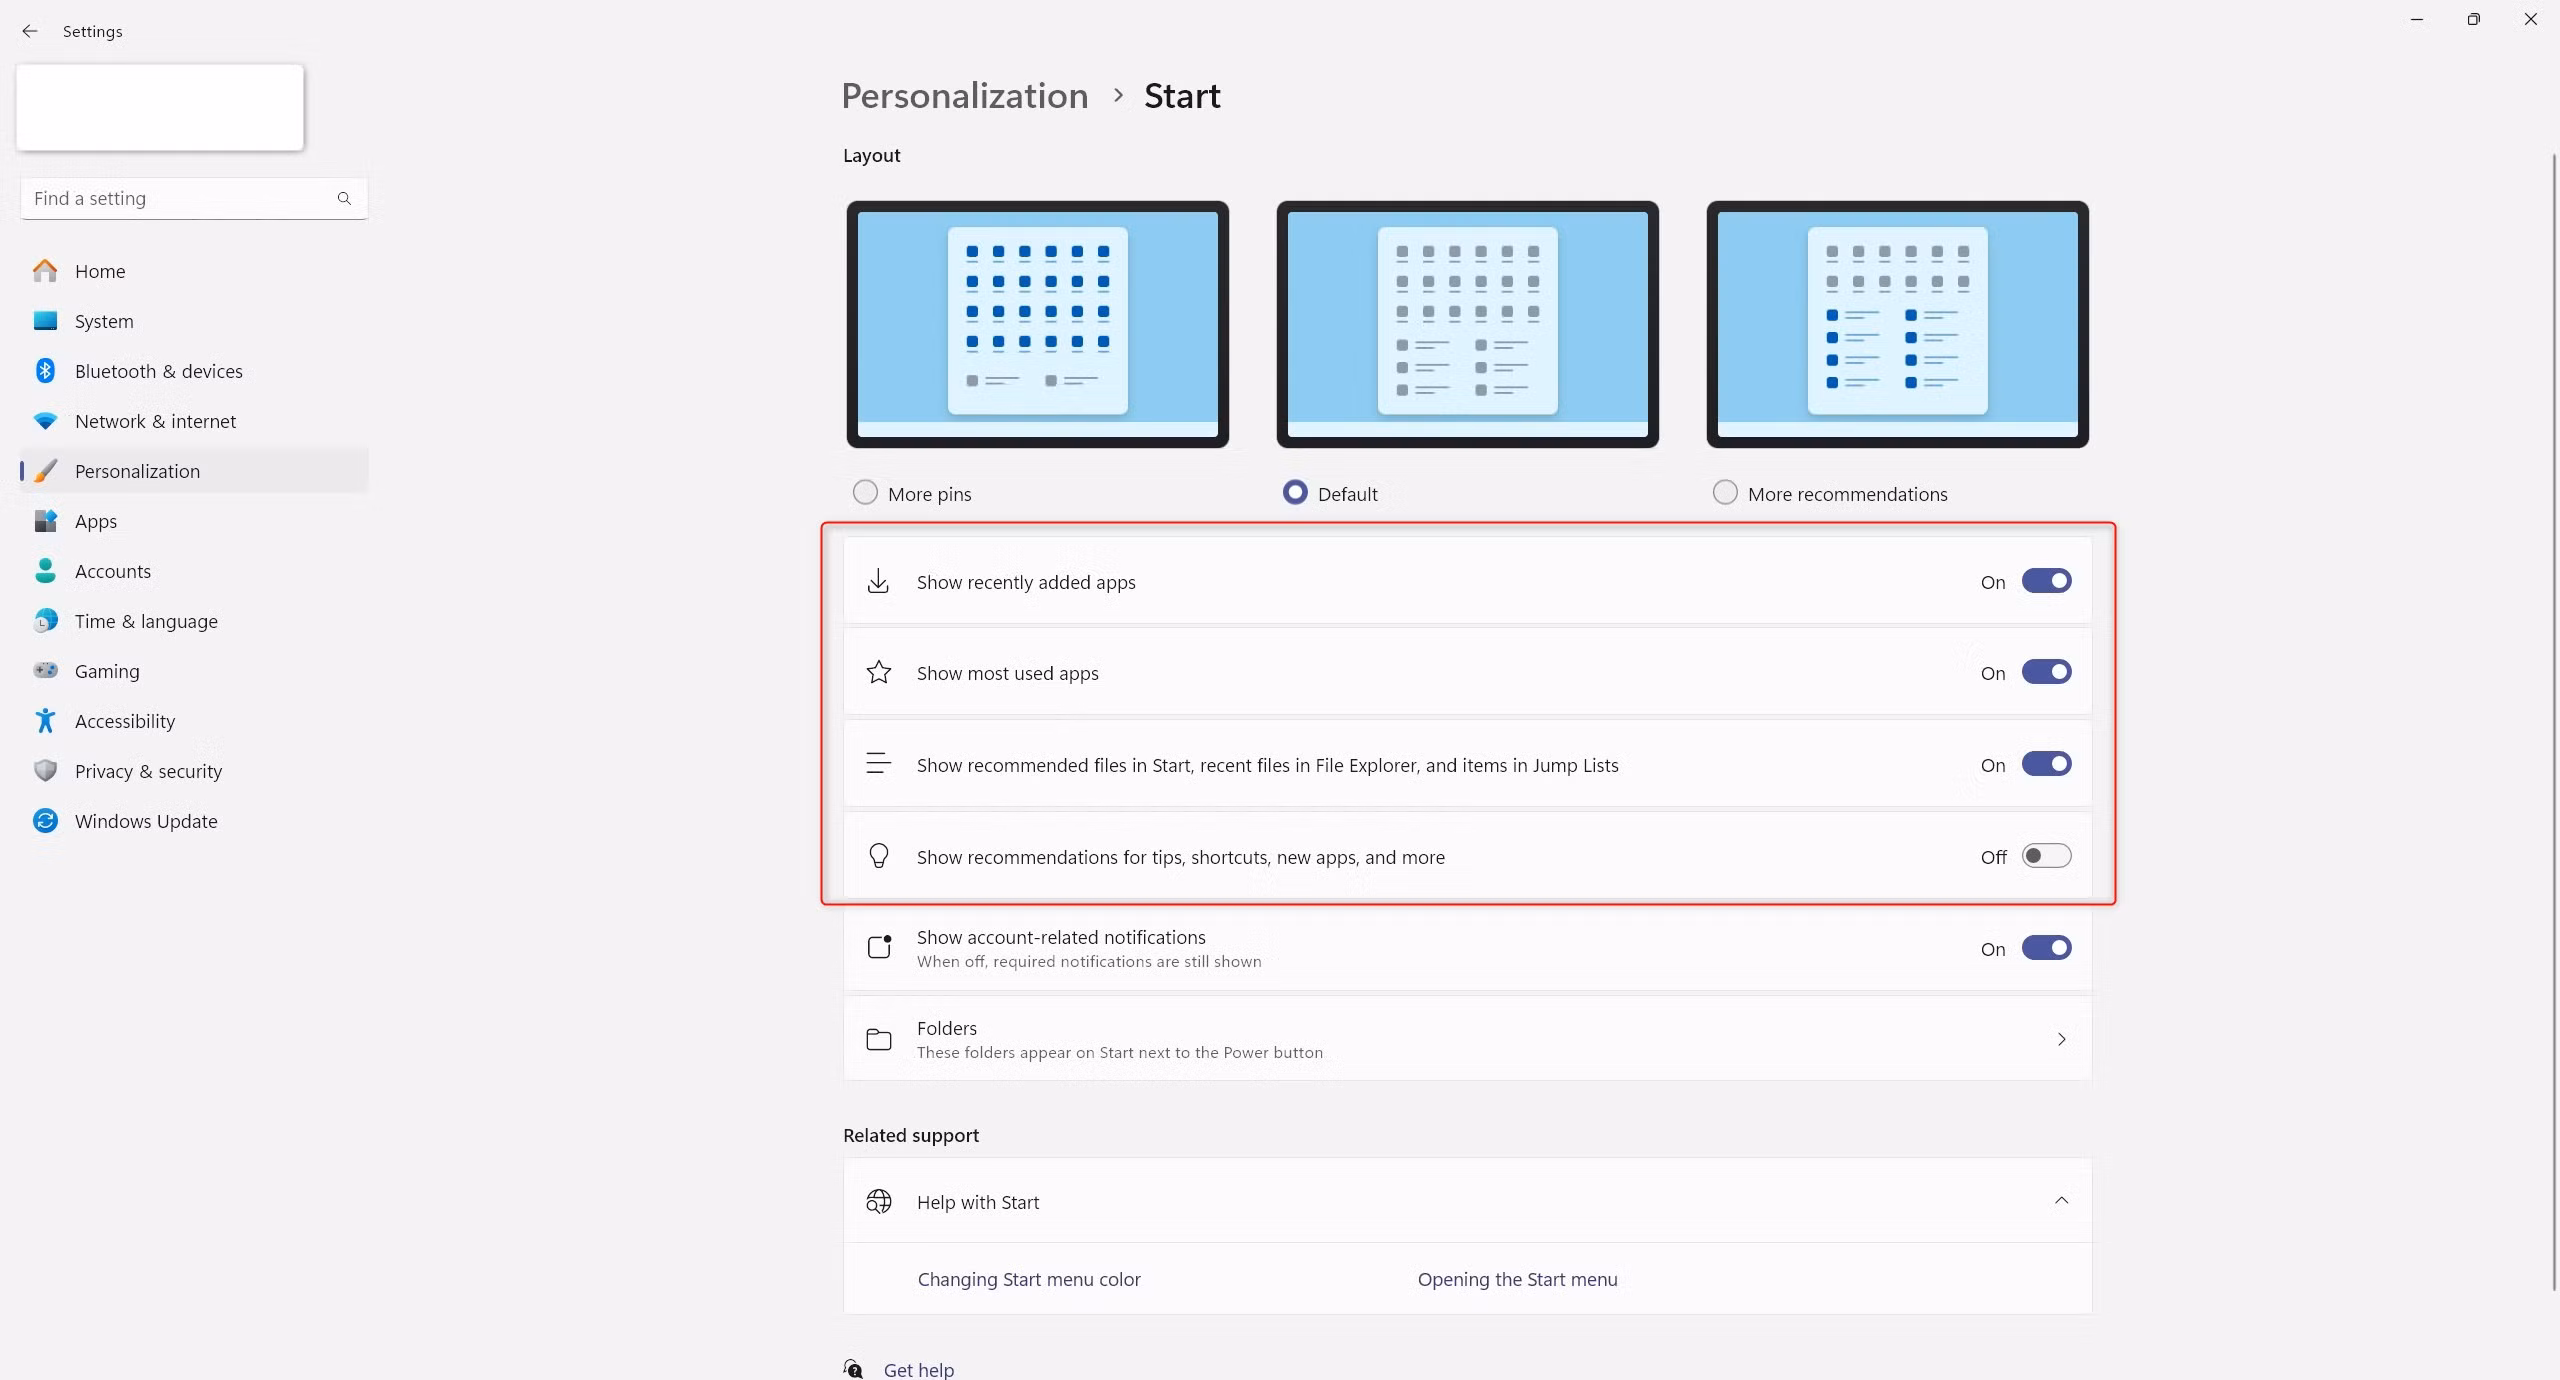
To begin customizing your Windows 11 Start menu layout, you need to access the settings. Click on the Start button, and then select the ‘Settings’ option from the menu. Alternatively, you can right-click the Start button and choose ‘Settings’ from the context menu. This will open the Settings app, where you can find various options to personalize your Start menu.
Customizing the Start Menu Layout
Once you are in the Settings app, navigate to the ‘Personalization’ section. Here, you will find the option for ‘Start.’ Click on it to access the Start menu customization options. You can toggle various settings to show more apps, recently added apps, and more. Adjust these settings according to your preferences to create a layout that suits your workflow.
Pinning Apps to the Start Menu
Another effective way to change your Start menu layout is by pinning your frequently used apps directly to the Start menu. To do this, find the app you want to pin in the Start menu or through the search bar. Right-click on the app, and select ‘Pin to Start.’ This action will add the app to your Start menu, making it easily accessible whenever you need it.
Arranging Apps in Groups
Windows 11 allows you to group apps in the Start menu for better organization. To create groups, simply drag and drop apps next to each other. You can also rename these groups by clicking on the default group name and typing a new one. This feature helps you keep your most-used apps organized and within reach, enhancing your productivity.
Using Folders for Better Organization
In addition to grouping apps, you can create folders in the Start menu. To do this, drag one app on top of another, and a folder will be created. You can then add more apps to this folder by dragging them in. This method is particularly useful for minimizing clutter and keeping your Start menu clean and efficient.
| Step | Description | Action Required | Expected Outcome | Tips |
|---|---|---|---|---|
| 1 | Access Settings | Click Start > Settings | Settings App Opens | Shortcut: Right-click Start |
| 2 | Personalization Section | Select ‘Personalization’ | Customization Options Available | Explore All Options |
| 3 | Pinning Apps | Right-click app > Pin to Start | App Added to Start Menu | Pin Your Favorites |
| 4 | Create Groups | Drag and Drop Apps | Apps Grouped Together | Organize by Usage |
Using these methods, you can effectively change the layout of your Windows 11 Start menu to suit your needs. Whether you prefer a minimalistic approach or a fully loaded menu with all your apps, Windows 11 provides the tools necessary to achieve your ideal setup.
FAQs
Can I revert to the default Start menu layout after customizing it?
Yes, you can revert to the default layout by accessing the Start menu settings and resetting your preferences.
Is it possible to change the Start menu color and theme?
Absolutely! In the ‘Personalization’ settings, you can choose different colors and themes for your Start menu.
Are there limits to how many apps I can pin to the Start menu?
There is no specific limit to the number of apps you can pin, but keep in mind that a crowded Start menu may reduce usability.
Can I customize the Start menu on multiple user accounts?
Yes, each user account can have its own customized Start menu layout based on individual preferences.