In today’s fast-paced digital world, staying connected is more important than ever. One handy feature that many users may overlook is USB tethering, which allows you to share your smartphone’s mobile data with your Windows 10 or Windows 11 computer. This is particularly useful in situations where Wi-Fi is unavailable or unreliable. In this guide, we will walk you through the simple steps to set up USB tethering on your Windows device, ensuring you can access the internet anytime, anywhere. By following these instructions, you can turn your smartphone into a reliable internet source for your computer, enhancing your productivity and connectivity.
Preparing Your Device for USB Tethering
Before you can begin using USB tethering, you need to ensure that both your smartphone and computer are properly configured. This involves enabling USB tethering on your smartphone and connecting it to your computer via a USB cable. Make sure you have the latest version of your operating system and that your smartphone is charged.
Connecting Your Smartphone to the Computer
Once your smartphone is ready for tethering, the next step is to physically connect it to your Windows computer. Use a compatible USB cable to connect your phone to one of the USB ports on your computer. This connection is crucial as it allows the data to flow from your smartphone to your computer.
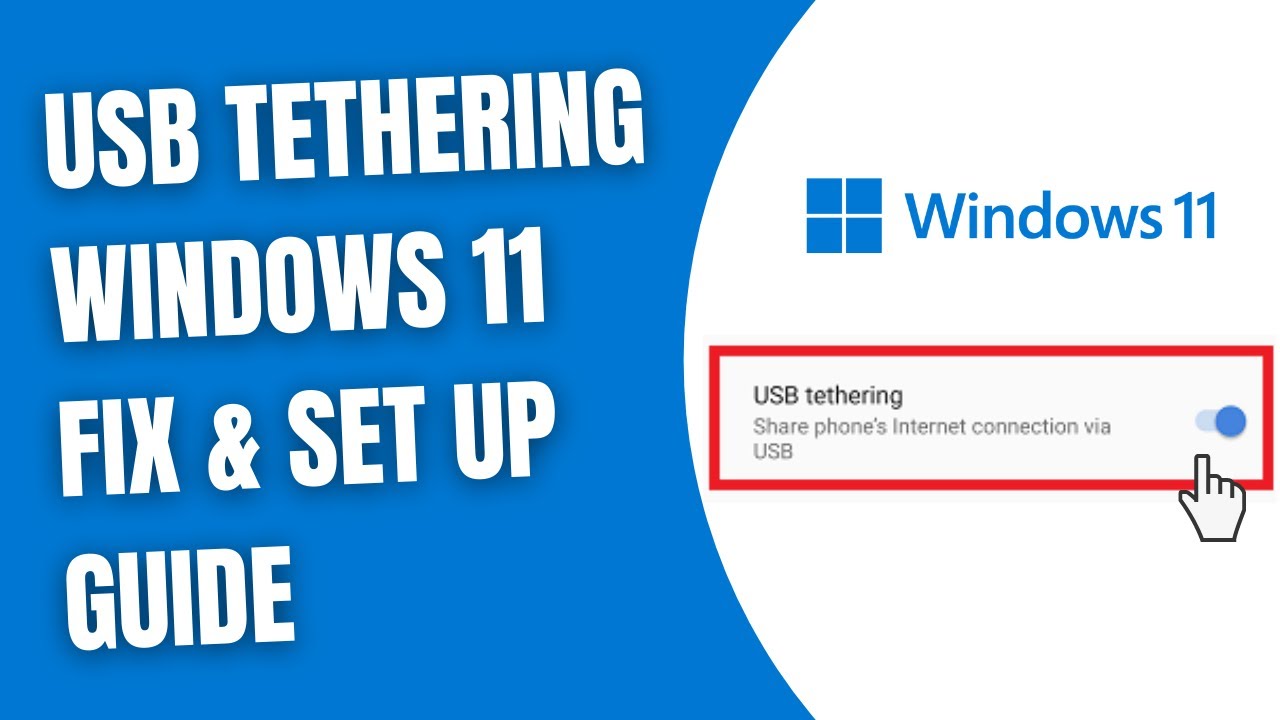
Enabling USB Tethering on Your Smartphone
After connecting your smartphone, you will need to enable the USB tethering option. On most Android devices, this can be found in the Settings menu under Network & Internet or Connections. Simply toggle the USB tethering option to enable it. For iOS devices, USB tethering is available under Settings > Cellular > Personal Hotspot.
Configuring Network Settings on Windows
With your smartphone tethered and USB tethering enabled, your Windows computer should automatically detect the new connection. You may need to configure the network settings to ensure that your computer is using the smartphone’s mobile data. Check your network settings to confirm that the connection is active and functioning correctly.
Troubleshooting Common Issues
If you encounter any issues while setting up USB tethering, there are several common problems and solutions you can try. Ensure that your USB cable is functioning properly and that your smartphone is not in charging mode. Restarting both your smartphone and computer can also help resolve connectivity issues. Additionally, check your mobile data settings to ensure that your data is enabled.
| Step | Action | Device | Menu Location | Notes |
|---|---|---|---|---|
| 1 | Prepare Device | Smartphone | Settings | Enable Mobile Data |
| 2 | Connect USB | Computer | USB Port | Use Compatible Cable |
| 3 | Enable Tethering | Smartphone | Settings > Network | Toggle On USB Tethering |
| 4 | Check Connection | Computer | Network Settings | Ensure Active Connection |
USB tethering is a valuable tool that can help you maintain connectivity in various situations. By following the steps outlined in this guide, you can easily set up USB tethering on your Windows 10 or Windows 11 device. This feature allows you to leverage your smartphone’s data plan, ensuring you stay connected to the internet even when traditional Wi-Fi networks are not available.
FAQs
What is USB tethering?
USB tethering is a feature that allows you to share your smartphone’s mobile data connection with your computer through a USB cable.
Can I use USB tethering with any smartphone?
Most modern smartphones support USB tethering, but it’s best to check your device’s settings to confirm compatibility.
Do I need to install any software to use USB tethering?
Typically, no additional software is required. However, ensure that your operating system is updated for the best experience.
Will using USB tethering affect my mobile data plan?
Yes, using USB tethering will consume data from your mobile plan. Be mindful of your data limits to avoid overage charges.